You will need small and medium Phillips screwdrivers, small and medium slotted screwdrivers, a soldering iron, a solder removal tool, small diameter solder (avoid lead-free, if you can - old-fashioned 60/40 is much easier to work with), and a nutdriver that fits the mounting hardware on the video connector (you can remove/install these with needlenose pliers, but the nutdriver is a lot easier ;-)
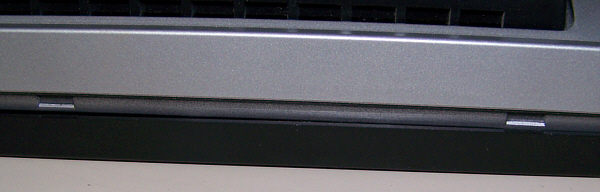
Place the monitor face down on a flat surface (kitchen counter works) and remove the four screws that hold the base to the monitor.
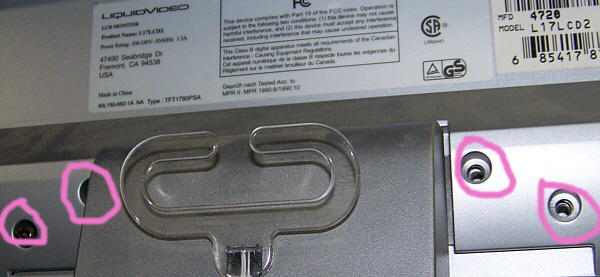
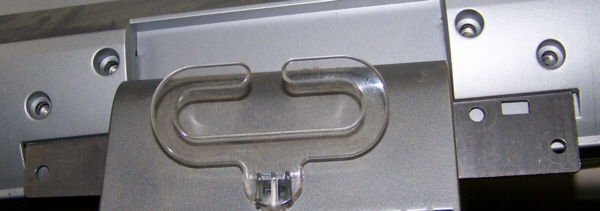
Slide the mounting tab out of the monitor.
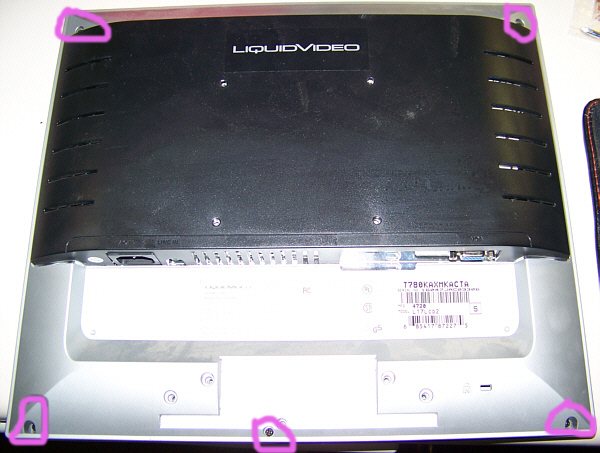
Remove the five screws that hold the back cover to the monitor chassis.
Use the slotted screwdrivers to separate the back cover from the chassis. Slip the blade between the sections and push the back cover in a little to release the snap locks.
Then pull that area apart a quarter inch or so all the way around.
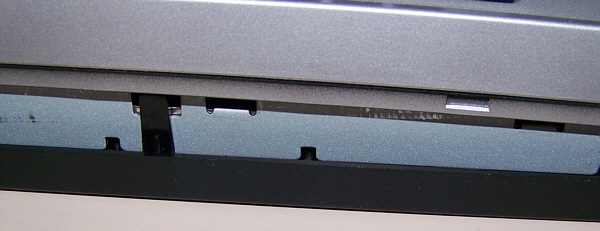
Starting at the bottom, lift the back cover off the chassis and set it aside.
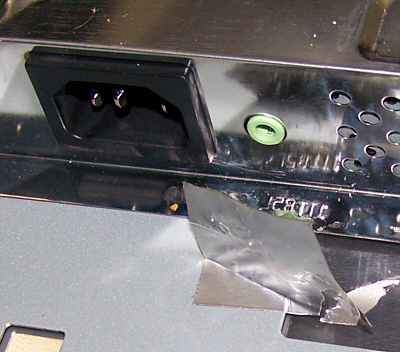
Remove the silver screws that hold the electrical noise shield in place and the hardware on the video connector.

Remove the "waranty void" tape, then slide the shield down about a half inch, lift it off and put it aside.
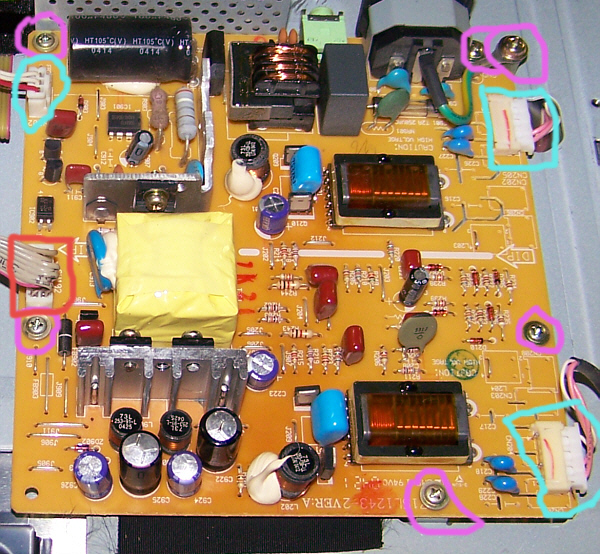
On the power supply board (top left), I found three possibly bad electrolytic capacitors (tops were swollen): C922 1000uF/16V, C924 470uF/16V, C925 1000uF/16V.
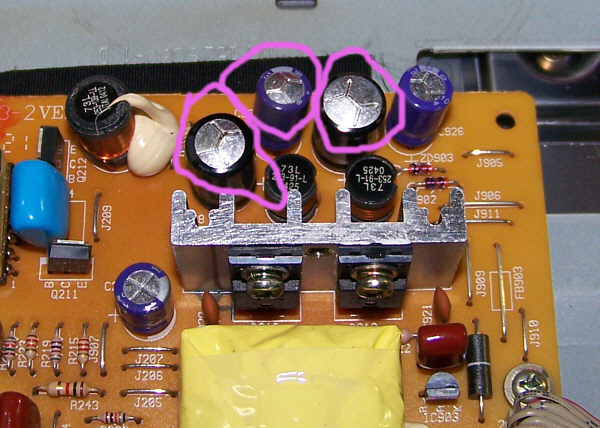
To replace the capacitors, you must unbolt the power supply board from the chassis. There are six screws and four connectors. I only removed the connectors marked in green.
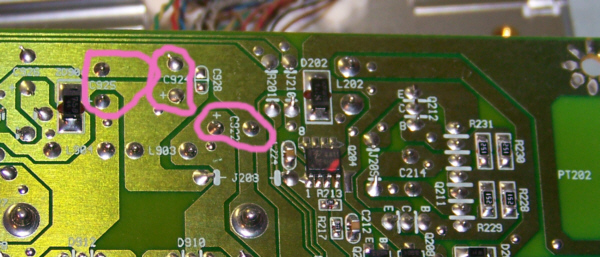
The capacitors are identified on both sides of the board and there are polarity markings on both sides of the board.
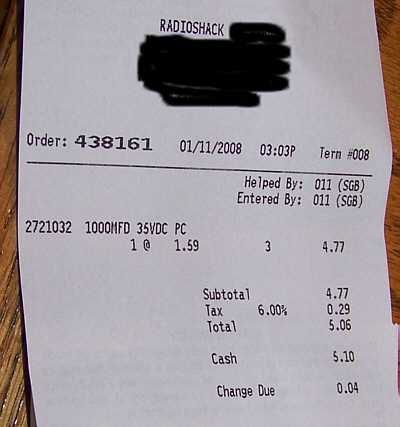
I replaced the capacitors with higher rated (35V) capacitors of the same value from Radio Shack. When I reassembled the monitor and turned it on, it displayed the moving "No input" message.
Since the non-working monitor was given to me, my investment is some research time on the internet plus less than an hour for the repair plus the $5.06 for parts. A very reasonable cost for a 1280x1024 capable LCD monitor ;-) The time to make this page is a "pay forward", since I can't pay back the other people who posted their troubleshooting.
The receipt is incorrect - there were two 1000uF and one 470uF capacitors. Now you know why the online reference to store stock isn't always correct...